
Ok, I got some kefir, now what? (or Kefir Quickstart Guide)
My last post introduced the wonders of kefir and the magic grains that ferment milk into delish yoghurt. Some people have asked me for grains and right now I actually have a “customer” on hold for my kefir grains to grow again so I can give them away. It seems my friends are more open than I was actually expecting! Nice!
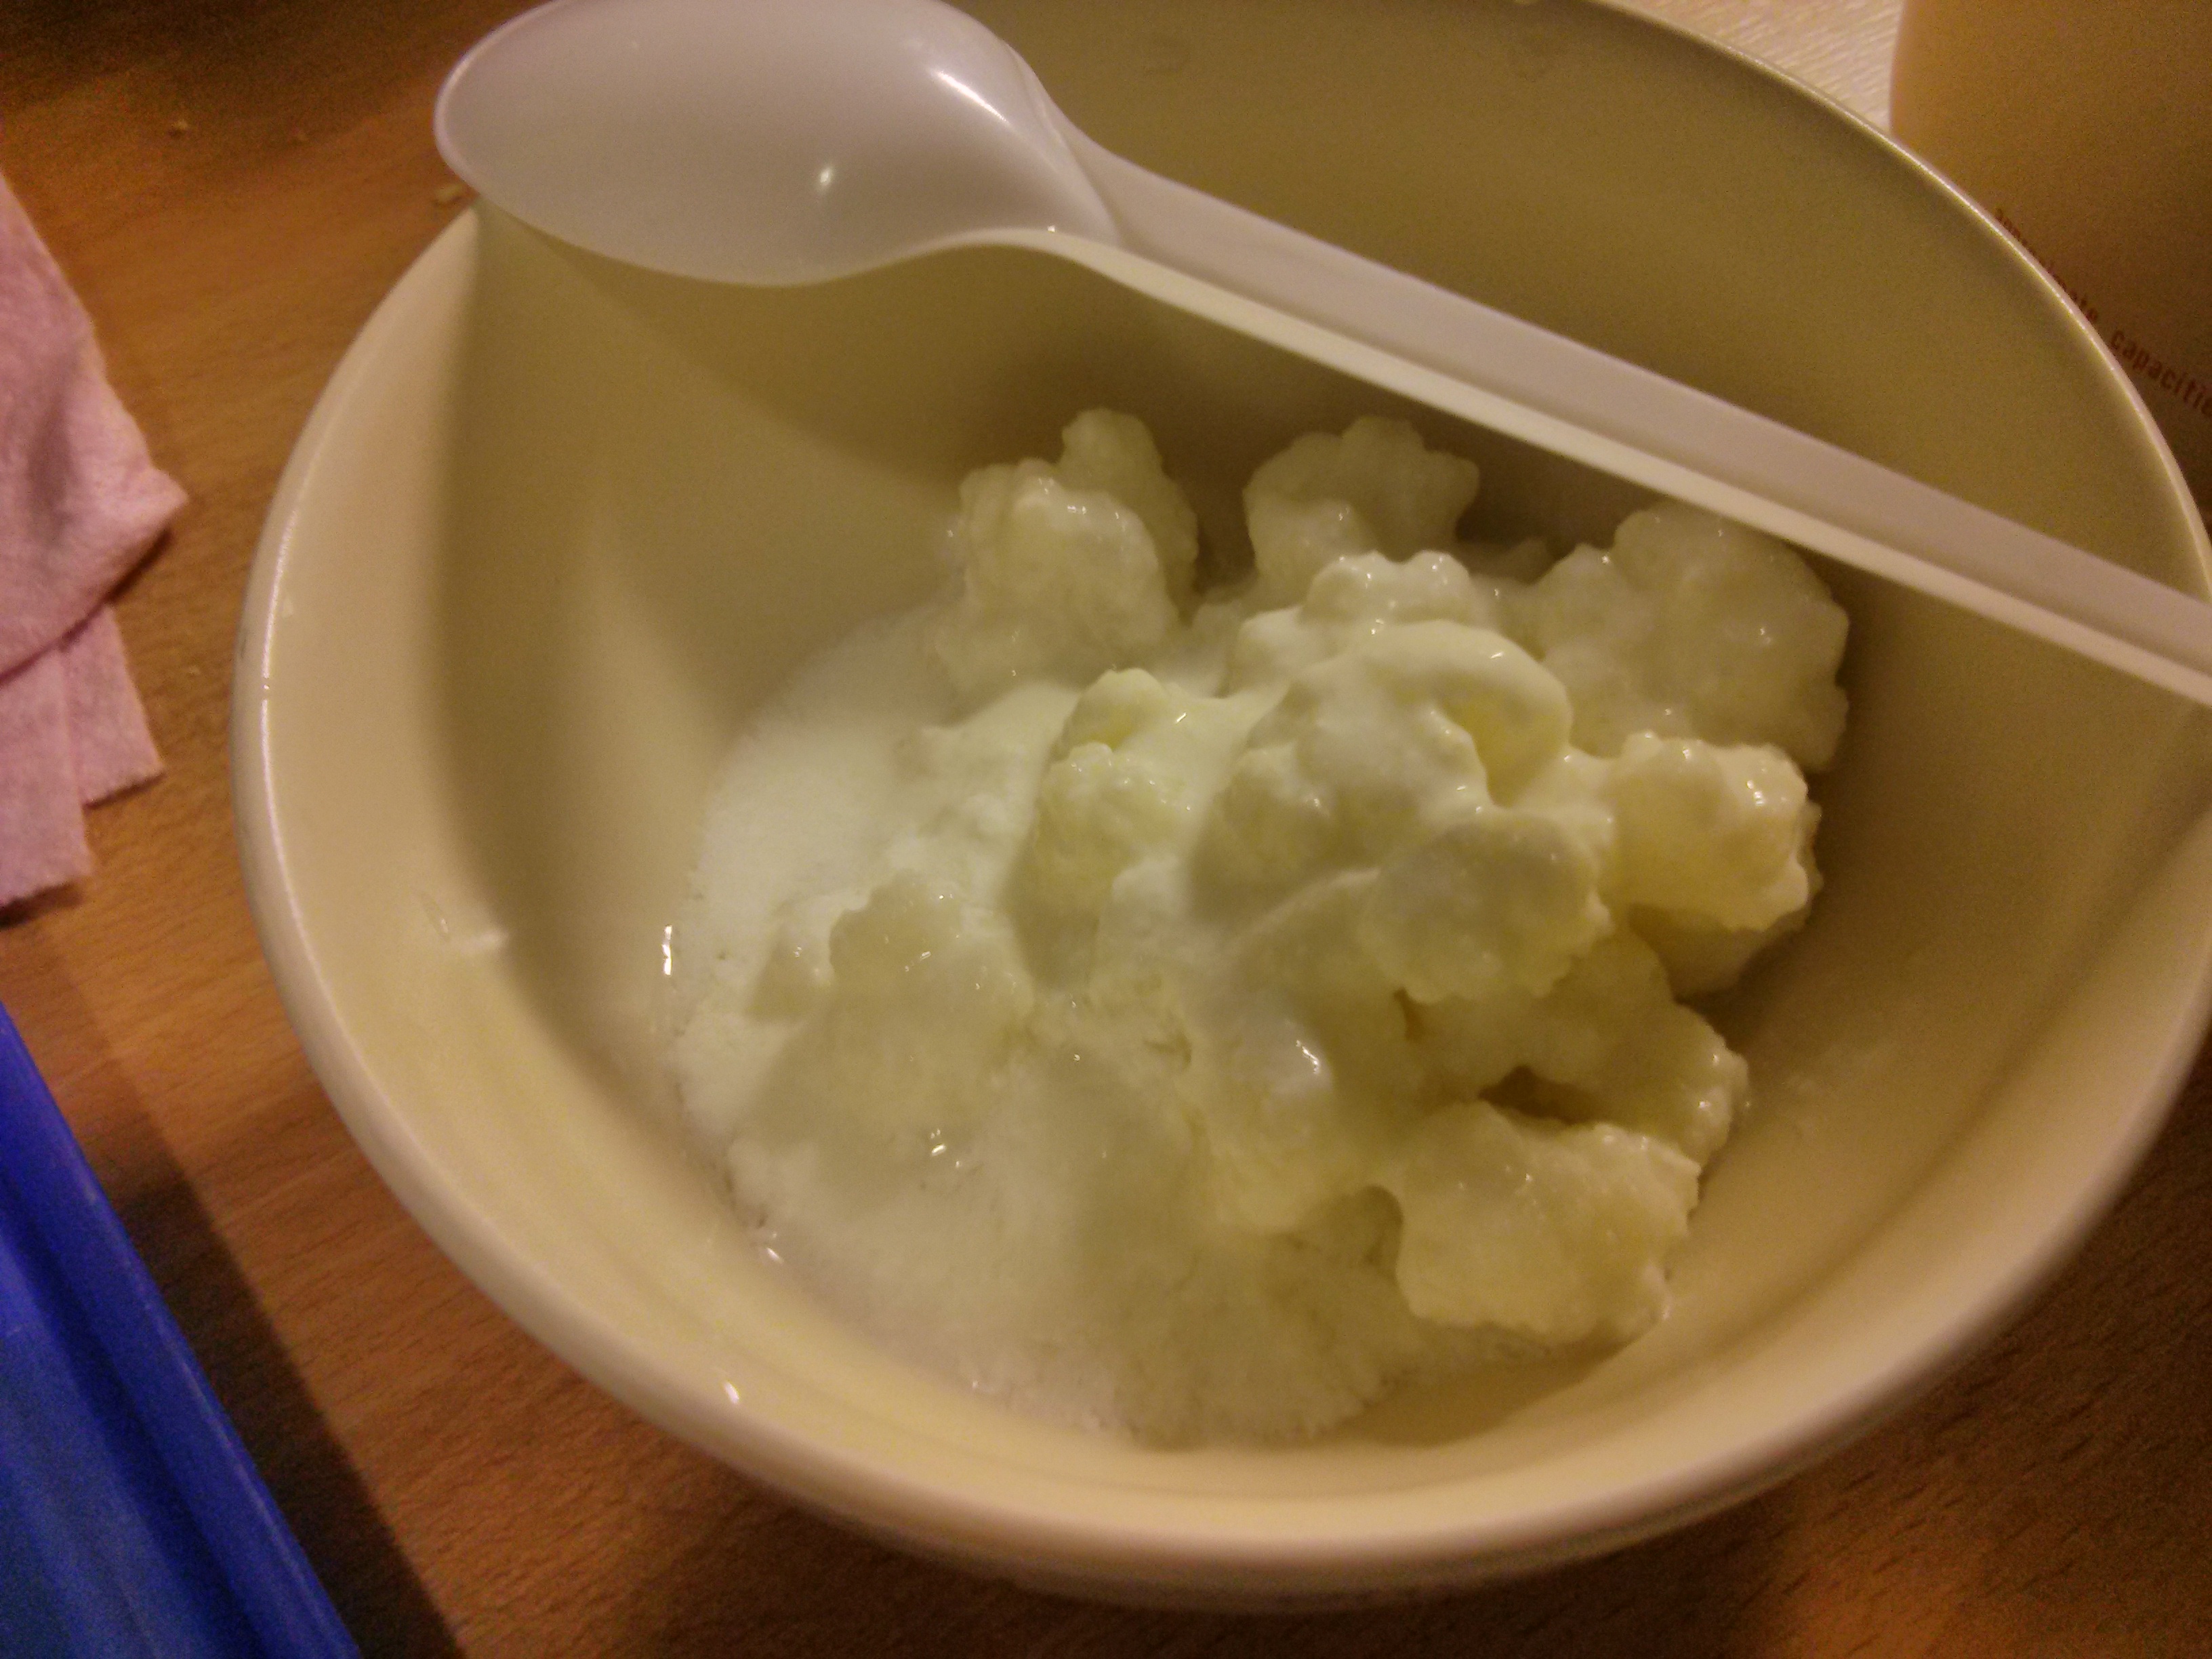
My own kefir grains!
Read on for the essential tips on getting quickstarted with kefir making!
Some of you may have also noticed that I’m posting about kefir in what has otherwise been a “tech blog”. But alas, this is my personal blog, and for all I care, kefir grains are actually nanobots which use milk as fuel and drop yoghurt from their behinds (yes, I have a fertile imagination). But no. Kefir grains are really just very much organic yeasts and bacteria which help each other survive and which do, in fact, feed on the fats and nutrients of milk.
Now! You just got some kefir from me (or from anyone else). Now what? What are you supposed to do with this? How can you get kefir milk?
Fret not! Even though I still hold Dom’s website as my reference and all my knowledge comes from there, I realize it can be somewhat daunting to go over endless paragraphs of narrative just to learn how to grow kefir. This is why I decided to compile this abridged version that can get you started in no time.
Jump here if you’re an impatient reader
- Okay, first thing you should know: kefir grains will die unless taken care of. Like I said, kefir grains are living bacteria and yeasts and to be kept alive, they should be in milk at all times.
- The very second thing you should know is that both kefir grains and the kefir milk itself should not come in contact with reactive metals. Reactive metals are for example copper and aluminum and probably others which I can’t think of right now. This means that whatever utensil you use with kefir should be plastic or, ultimately, if you really have to, stainless steel is also tolerable. There’s a very strong reason for this and there’s actually a health danger that comes with using reactive metals. Especially if you’re keeping your kefir in metal bottles, because kefir is an acidic solution (kefir milk has a pH of approximately 4.5) it will react with the metal and you can actually get very ill in the long term from metal poisoning. SO! Use plastic utensils and keep your kefir in glass containers (plastic also works, but I prefer glass). Like I said, stainless steel has very little reactivity (is this even a word?!) and for some time I was using a stainless steel strainer without a problem, but I seriously recommend nylon or plastic.
- The third thing about kefir has to do with temperature. To make kefir you’re gonna place your kefir grains in fresh milk (UHT milk does not work very well) and leave it at room temperature. Now, of course, room temperature is a very arbitrary concept. Room temperature means 24 degrees for me but maybe your house is colder or warmer. Worry not! Kefir can stand a very wide range of temperatures, anything from 20 to 28 degrees will keep your grains happy, keeping in mind that they can also go in the fridge (but this is something that should not be done often). Now, you’re probably thinking about whether or not it is dangerous to leave fresh milk at room temperature and the answer is NO! Normally milk would go bad at room temperature in no time, but because you have your kefir grains inside, the good bacteria from kefir give the bad bacteria (that would make the milk go bad) no chance to spread. So yes, keeping the milk at room temperature is the normal way of making kefir.
- The fourth thing you should know is that making kefir milk does come with some work involved. For instance, it takes kefir grains approximately 24 hours to convert an appropriately sized portion of milk into kefir milk. This means that every 24 hours you’ll be straining your kefir milk and placing the strained grains in fresh milk. As you can imagine, unless you really like kefir, you’re gonna get tired after doing this every 24 hours. Still, again, worry not! Even if you’re not an avid kefir milk drinker, there’s a way out. Like I said before, keeping the kefir grains in milk at room temperature is the normal way of making kefir. Still, you can also keep the milk with the grains in the fridge. At fridge temperature, it will take the grains a week before they ferment the milk into kefir milk. While this sounds like the perfect solution, do keep in mind that every once in a while you should do 2 or 3 batches of kefir at room temperature. The reason behind this is that by making kefir milk in the fridge, you’re exposing the kefir grains to temperatures they’re not very comfortable with. Therefore, make sure you don’t let your grains die and if you’re using the fridge approach, let them out at room temperature every now and then.
- The fifth thing has to do with fermentation times. Keep in mind the following blanket rule: kefir is drinkable at any fermentation stage. This means that if you forgot your kefir and left it fermenting too long, you don’t have to throw it away. It’s still good although you will notice the flavor will become somewhat sourish. At some points you may also feel the aroma of fresh yeast, which is perfectly normal. Normally if you have more or less the right amount of grains per quantity of milk, it will take the grains around 24 hours to turn the milk into kefir milk. Still, sometimes we have too many grains and it will take a little shorter to accomplish the same. That’s perfectly fine and the best way of knowing whether kefir is ready is to just look at it and shake the jar a little bit! If it looks creamy or already solid, your kefir is probably ready. It’s also perfectly fine (and I recommend it) to stir the kefir milk around half way through (~12h mark) the process. This will make sure the grains circulate around the milk and get in contact with fresh milk that’s not yet kefir.
And that’s it! These five items are the major things you should know about kefir. There’s one last thing I would like to mention and that is the type of milk that you use. I strongly recommend that you use non-skim milk (in het Nederlands: volle melk). In my experience, the skimmed milk is just not as creamy and the results are not as good as full fat milk. My grains (in case you got your kefir from me) are also ALWAYS fermented in biologic full fat fresh milk from Campina. The biologic thing is not a requirement but I like to think the kefir grains are happier in milk made by happier cows!
That’s it for this post! If you do have any questions, feel free to message me on Facebook, drop me a comment or just e-mail me! Whatever works for you!